Welcome to ClearBench!
Here are a
few simple steps to prepare and configure synchronization of your ConnectWise
account with your new ClearBench scheduling solution.
1.To customize ClearBench to your corporate image, you can import your logo.
a. Large logo 207 px (width) x 26 px (height)
b. Small logo 43 px (width) x 26 px (height)
2.Identify your ClearBench Administrator: the main contact who will receive notifications and sync error alerts during configuration.
3.Does your company use Microsoft 365?
a. If so, you can choose to use Single Sign-On with Microsoft 365
b. If not, users and passwords will be managed directly in ClearBench
4. To sync service tickets in ClearBench, select the ConnectWise service board you want to sync.
5. Have your ConnectWise company ID on hand.
6. If you are using ConnectWise On-Premise:
a. Have your ConnectWise URL on hand (System > My Company > Owner > Miscellaneous Options > Site)
b. Have the port 443 open on your firewall
c. Contact us if your firewall has IP address restrictions (especially if you are located outside North America)
7. Create your ConnectWise API keys (following section)
How to create your ConnectWise Manage API keys
To integrate and synchronize ClearBench with ConnectWise Manage, you will need to create an API Member and an API Key as follows:
1. Log on to ConnectWise Manage as an administrator.
2. To create a new security role, go to the Security roles management page (System menu > Security roles). Next, click on the “+” button.
3. On the new Security role’s page, fill in the following fields:
Role ID: ClearBench Integration
4. Once saved, you will be redirected to the security module for the ClearBench Integration security role. You will need to set the following items:
Companies > Company Maintenance > Inquire Level set to All
Companies > CRM/Sales Activities > Inquire Level set to All
Finance > Billing View Time > Inquire level set to All
Project > Project Headers > Inquire Level set to All
Project > Project Phase > Add level, Edit level, Delete level Inquire Level set to All
Project > Project Scheduling > Add level, Edit level, Delete level and Inquire level set to All
Project > Project Teams > Add level, Edit level, Delete level and Inquire level set to All
Project > Project Ticket Dependencies > Add level, Edit level, Delete level and Inquire level set to All
Project > Project Tickets > Add level, Edit level, Delete level and Inquire level set to All
Sales > Opportunity > Inquire Level set to All
Service Desk > Service Tickets > Inquire Level set to All
Service Desk > Resource Scheduling > Add Level, Edit Level, Delete Level, Inquire Level set to All
System > Table Setup > Inquire Level set to All
System > Member Maintenance > Inquire Level set to All
System > My Company > Inquire Level set to All
Time and Expense > Time Entry > Add level, Inquire Level set to All
5. To create a new API Member, go to the Members management page (System menu > Members). Next, click on the API Members tab, then click on the “+” button.
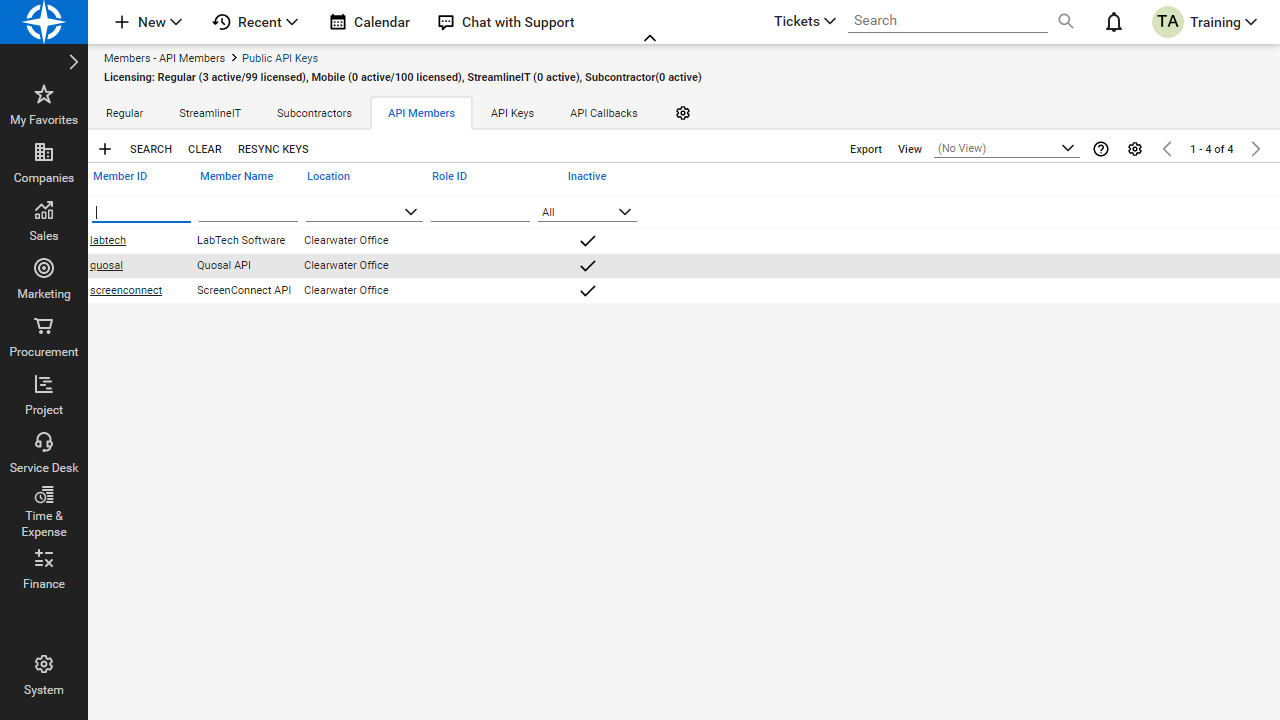
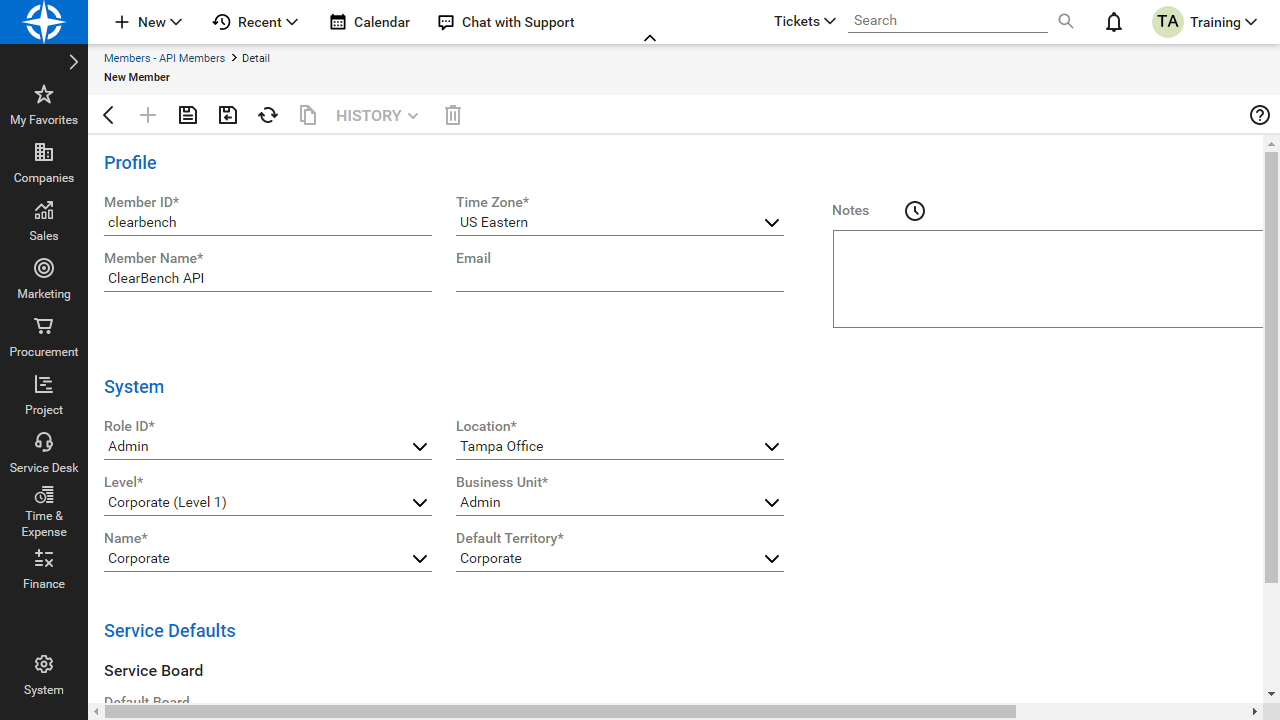
6. On the new member’s page, fill in the following fields:
Member ID: clearbench
Member Name: ClearBench API
Role ID: Admin
7. Fill in all other mandatory fields and click on the Save button. Once saved, a new set of tabs will be added.
8. To create a new API key, click on the API Keys tab and click on the “+” button.
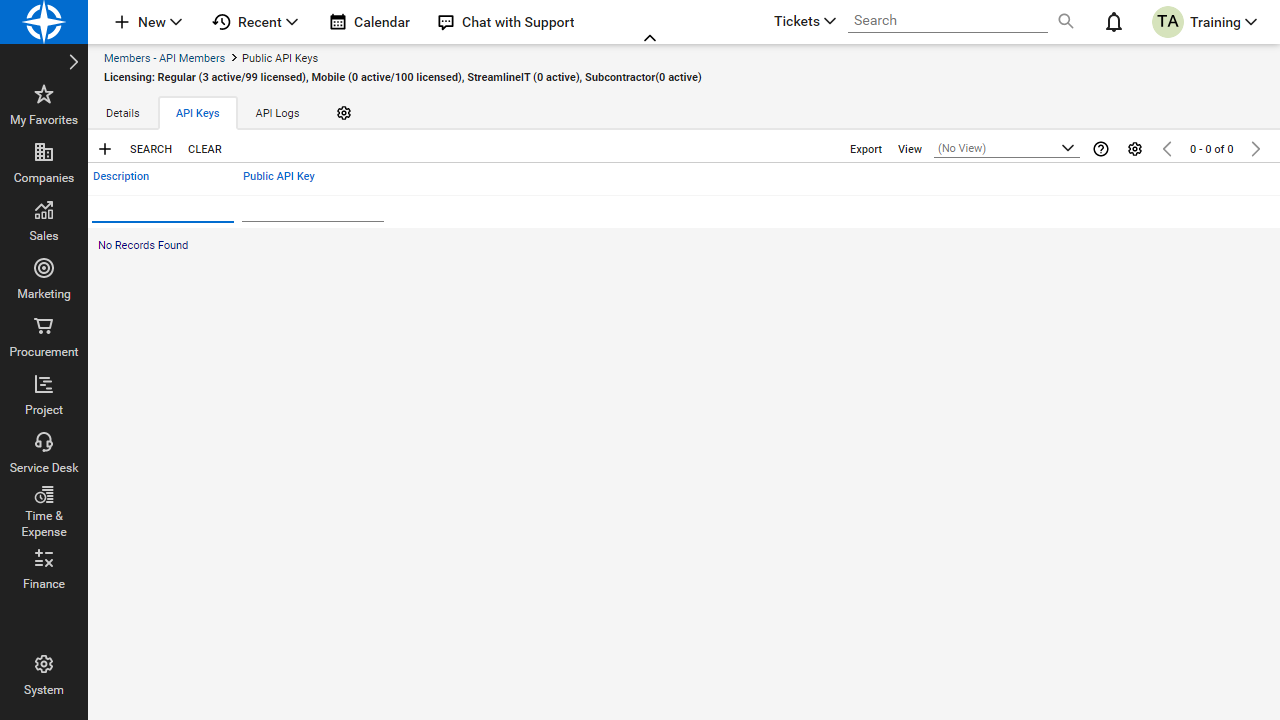
9. Enter “ClearBench API key” in the description field and click on the Save button. Note the two API keys (public and private); you will need them on ClearBench (Organization > Configuration > ConnectWise Configuration).

How to use Clearbench at its full potential
To use ClearBench at its full potential, here are the elements that should be defined in ConnectWise Manage.
1. In the ConnectWise Members section you must:
• Set up a daily capacity for each member.
• Assign each member a department (first make sure to have created your department(s)).
• Assign a work role to each member (first make sure you have setup the work roles).
• Assign a location to each member to allow location filtering.
• Identify skill sets for each member to allow skill set filtering.
• Certification for each employee to allow certification filtering.
2. In the ConnectWise set up table, you need to have ‘opportunity type’ and ‘project type’ created. They are mandatory to be able to choose different colours per activity type (internal projects and external projects) in ClearBench.
3. For all your projects:
• In ConnectWise, indicate the budgeted hours.
O This will be used in the ‘reports’ section in ClearBench.
• In ConnectWise, the project estimated end-date must always be up to date.
O This will be used to identify which projects are still in progress in ClearBench. Projects that have an estimated end-date in the past, will not be in ClearBench.
• In ConnectWise, the project’s percentage completion must always be up to date.
O This will be used in the project’s report within the ‘reports’ tab.
4. Holidays:
• In ConnectWise, go to setup tables to create holidays. These will synch into ClearBench.
• Automatically, holidays will appear as purple. In order to give a specific colour to holidays (ie. vacation, maternity, etc.) within ClearBench under configuration you will need to select the activity type for your holiday. Once selected, within the assignments tab you can change the colour of the specific activity type related to your holidays.
